3 Getting started with modern scientific Python
[!CAUTION] Rewrite this so that there’s a sandbox in this repo for them to play with.
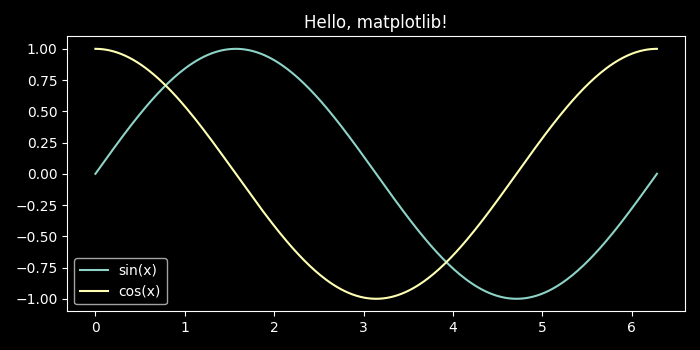
We’ve embarked. It’s time to run some code!
We run it with python and…
$ python hello_matplotlib.py
Traceback (most recent call last):
  File "/home/lotus/Repositories/py-onramp/code/hello_matplotlib.py", line 2, in <module>
    import matplotlib.pyplot as plt
ModuleNotFoundError: No module named 'matplotlib'
Well, that’s unfortunate.
One of the greatest stengths of the Python of today is vast ecosystem of existing code that you can rely on. To get started with python, we first must learn how to manage those dependencies, in this case matplotlib and numpy!
This page is the practical starting point for a new scientific Python project. The goal is to get a working local environment using uv, install the dependencies you need, and understand what the project-local virtual environment is doing for you.
3.1 Install uv
uv is a fast Python package and project manager. It can install Python itself, create a project, resolve dependencies, and manage the virtual environment in one workflow. Historically, there have many tools for this task but, today, I highly recommend uv.
Follow the official installation instructions for your platform:
[!NOTE] Install
uvhere: https://docs.astral.sh/uv/getting-started/installation/
After installation, confirm that it is available:
$ uv --version
uv 0.9.5
3.2 Create a new project
Usually, we begin with a fresh directory. uv itself can be used to create this directory, and it’ll package all the structures it needs to record metadata and dependencies.
To create a simple script-oriented project:
$ uv init my-project
$ cd my-project
This creates a small starter layout, including pyproject.toml, a README.md, and a starter Python file.
If you already made the directory, initialize it in place:
$ mkdir my-project
$ cd my-project
$ uv init
If you know you are building a reusable library or package, uv also supports library-oriented initialization. We defer the details of package layout and build configuration to Packaging, since that is where concepts like module structure, installable projects, and publishing belong.
3.3 Add dependencies
Once the project exists, add the packages you need with uv add:
$ uv add numpy matplotlibThis updates your pyproject.toml, refreshes the lockfile, and syncs the project environment.
[project]
name = "my-project"
version = "0.1.0"
description = "Add your description here"
readme = "README.md"
requires-python = ">=3.13"
dependencies = [
    "matplotlib>=3.10.8",
    "numpy>=2.4.4",
]
If you clone an existing project that already has a pyproject.toml and uv.lock, install everything recorded there with:
$ uv syncThat is the usual command for “make my environment match this project”.
3.4 Run code in the project
Use uv run to execute code inside the project’s environment:
$ uv run main.pyYou can also run tools this way. For example, if you installed pytest (which we will discuss later), you could run the corresponding CLI tool as
$ uv run pytestThis matters because it guarantees that the command uses the project’s managed Python and dependencies, not whatever happens to be installed globally on your machine.
3.5 What is a virtual environment?
A virtual environment, usually shortened to venv, is a directory containing a Python interpreter plus a private set of installed packages for one project.
With uv, the project environment usually lives in a local .venv/ directory next to pyproject.toml. Keeping the environment inside the project has two important benefits:
- Dependencies for one project do not interfere with another project.
- Editors and tools can usually detect
.venvautomatically.
In practice, you can think of a venv as “this project’s Python”. When you use uv add, uv sync, or uv run, uv manages that environment for you.
You do not need to understand every implementation detail before you begin. What matters early on is the workflow:
- Create a project with
uv init. - Add dependencies with
uv add. - Run code and tools with
uv run. - Recreate the environment later with
uv sync.
3.6 A minimal first session
Here is the shortest useful workflow for a new project:
$ uv python install
$ uv init my-project
$ cd my-project
$ uv add dep1 dep2
$ uv run main.py
For more on structuring that project as an installable package or library, move on to Packaging.
As for our original example: Running
$ uv init my-project
$ cd my-project
$ uv add numpy matplotlib
$ uv run hello_matplotlib.py # Having obtained this file somehow